Showing posts with label Layout. Show all posts

Monday, July 18, 2011

How To Create A Favicon on Blogger

What Is A Favicon?

The term Favicon is short for favorites icon and is also known as a shortcut icon, website iconURL icon, or bookmark icon.  The Favicon is a tiny image, usually 16x16, that is associated with a specific website.  You want to choose a favicon image that easily identifies your website or your brand.  Once you have created your favicon image and set up your favicon on your blog or website, then graphical web browsers can start to implement it into your sites design. 

Browsers that provide favicon support typically display a page's favicon in the browser's address bar and next to the page's name in a list of bookmarks. Browsers that support a tabbed document interface typically show a page's favicon next to the page's title on the tab, and site-specific browsers use the favicon as a desktop icon.


Favicon Display On Browser Tabs

How To Set Up Your Favicon On Blogger

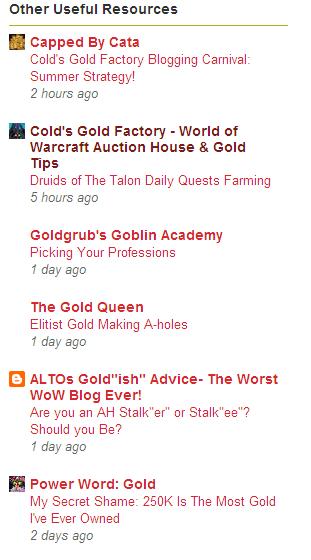
Blogger has recently added a super easy way to add a favicon to your Blogger blog.  All you need to set up a favicon is a square image.  You want to select an image that is easily identified as being related to your site.  You can choose a portion of your Blogger blogs header, your site's logo, or another identifying image that instantly is associated with your site.  The image below shows a blogroll from a fellow blogger's Blogger blog.  You can note the top 2 and the last site are Blogger sites that are using a favicon set up through their Blogger site design.  The 5th site in the blogroll shows a Blogger blog site that is using the default Blogger orange and white Blogger B logo.  That is what your favicon looks like prior to personalizing it to match your site.
Blogger Blogroll With Favicons Displayed

Step By Step Guide To Setting Your Blogger Favicon

1)  The first step is to select the image you would like to use.  The only requirement is that the image is a square shaped image.  The Blogger platform will size the image down to the correct size for the favicon display.  The image will be sized down to 16x16 for display on Blogger sites, so you don't need to use a high resolution image. 

Blogger Favicon Set Up
2)  Once you have your favicon image selected, click on the Dashboard tab in the Blogger interface.  First select the Design Tab and then select the Edit Favicon option.  You can see the Favicon tab in the design elements option where you add gadgets and restructure your Blogger site's design.  See the above image for reference, if you need help locating the favicon editing tab.


Blogger Favicon Custom Upload
3)  After clicking the Edit Favicon tab, the above window will pop-up.  This is where you upload the custom image you have created for your favicon image.  Just click Browse and find the square image file to upload.  Save your changes and you are all set.  When I did this the first time, the image was displayed as my Favicon on the design panel, but it took a day for the favicon to start showing up around the Blogger blogs and to start appearing in the various browsing tabs.

Setting up your Blogger favicon is pretty easy once you have decided on and created an appropriate matching image.  Be sure to set your Blogger favicon up today to give your site a little bonus aesthetically, which also helps to build your brand's image.
  • Why Haven't You Set Your Favicon Up Yet On Your Blogger Site?
  • Have You Seen Any Other Benefits To Having A Favicon For Your Site?

Tuesday, January 4, 2011

Above The Fold

Above The Fold

What does "above the fold" mean?  "The fold" is the lowest edge of a webpage viewable before scrolling down.  So everything that is in plain view on the landing page is considered "above the fold".  This fold can vary depending on what device the web page is viewed on and is also effected by things out of your control, like the viewer's browsing toolbar set-up.

You want to try to place certain things above the fold.  Anything that is displayed "above the fold" is going to be part of the initial impression of any new visitors to your site.  Use this space above the fold wisely.  Be sure that your site.   Certain things should always be above the fold.  Your page title, header, navigation tabs, subscriber links, contact info, and the title of your current post should all be visible above the fold.  If you are a blogger, having easy links to some flagship articles or most popular posts above the the fold can help to increase your visitor's time on your site.  If you are selling something, you definately want your product, store, or shopping cart to be easily found above the fold. 

Any advertising you place above the fold will have a much better chance of being clicked than those listed below the fold and down the page.  Depending on what type of site you have will determine what is most important to place above the fold. 

Stop and take a moment to view your page and what is above the fold.  Do new readers understand what your page is about without having to scroll down the page?  Do you have your most prominent items and articles placed above the fold or are they hidden down the page?  Think of all the information above the fold as highlighting your site, with a few advertisements mixed in.  Anything that is linking to another site or blog can go below the fold as you want to highlight your site above the fold.